
A shed slab that shifts, cracks, or flakes within a few years is almost always a preparation problem, not a concrete problem. At Rockingham Concreting Co, we see the same avoidable mistakes on sites across Rockingham regularly, and the fix after the fact always costs far more than doing it properly the first time. Here is exactly what a professional shed slab job looks like from start to finish.
Why Rockingham's Soils Demand More Than a Standard Spec
Rockingham and its surrounding suburbs sit on a wide range of ground conditions, and soil type drives almost every decision you make about a shed slab. A one-size-fits-all spec simply does not work here.
- Sandy coastal lots (Port Kennedy, Secret Harbour, Golden Bay): Free-draining sand sounds forgiving, but loose sand compacts unevenly and can wash out under slab edges over time without a properly graded gravel subbase.
- Reactive clay (Baldivis growth corridors, inland Warnbro): Clay soils shrink and swell with seasonal moisture changes. Without an edge beam and correct reinforcement, a standard 100 mm slab on reactive clay will crack within a few winters.
- Salt-air exposure (Golden Bay, Safety Bay coastline): Airborne salt accelerates corrosion of reinforcement steel if concrete cover is insufficient or the wrong mix is used.
We assess the soil on your specific lot before we price the job. That site visit is where a proper shed slab spec starts.
Step-by-Step: How We Pour a Shed Slab
1. Site Assessment and Set-Out
We check the existing ground level, confirm there are no underground services (always call Dial Before You Dig on 1100 before any excavation), and identify the soil classification. We then set out the slab perimeter with profiles and string lines to hold accurate dimensions throughout the pour.
2. Subbase Preparation and Compaction
We excavate to the required depth and lay a compacted subbase of road base or crushed aggregate, typically 100 mm deep on sandy ground and deeper on reactive clay sites. Every layer gets compacted with a plate compactor before formwork goes in. Skipping this step is the single most common reason shed slabs fail.
3. Formwork
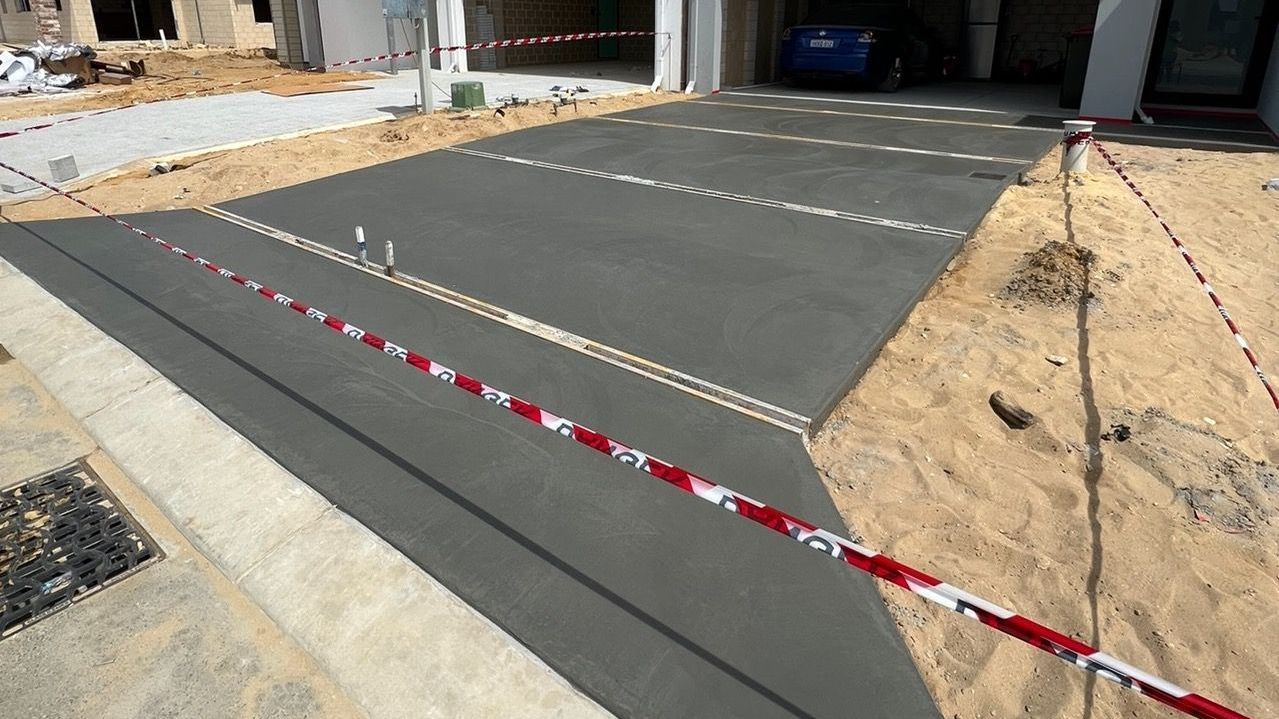
Timber or steel formwork is set to the finished slab level and checked for square. On reactive clay sites in Baldivis, we also form up edge beams, thickened sections around the slab perimeter that anchor the slab against ground movement. These add cost upfront and save significant money long-term.
4. Reinforcement Placement
For a standard domestic shed slab we use SL72 or SL82 trench mesh or sheet mesh, supported on plastic bar chairs to maintain the correct cover from the underside. In coastal suburbs like Secret Harbour we specify a minimum 40 mm cover to steel to guard against salt ingress. Where a shed will house a vehicle, machinery, or a heavy workbench, we step up to a heavier reo grid or add additional bar.
5. Concrete Mix Selection
For most Rockingham shed slabs we specify a 25 MPa mix as a minimum. Closer to the coast, a low water-to-cement ratio is critical because excess water in the mix creates the tiny channels that let salt migrate toward reinforcement steel. We source ready-mix from suppliers including Holcim and BGC, ordering the right mix design for the exposure classification of each site.
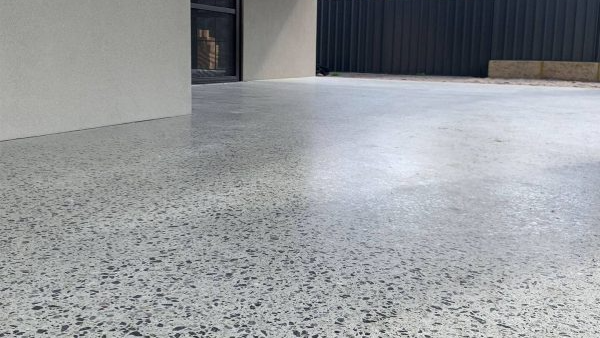
If you are thinking about a decorative finish for your shed interior, our post on Honed Concrete Rockingham: A Complete Guide to This Modern Finish covers mix and finish options worth considering at the pour stage.
6. The Pour and Finish
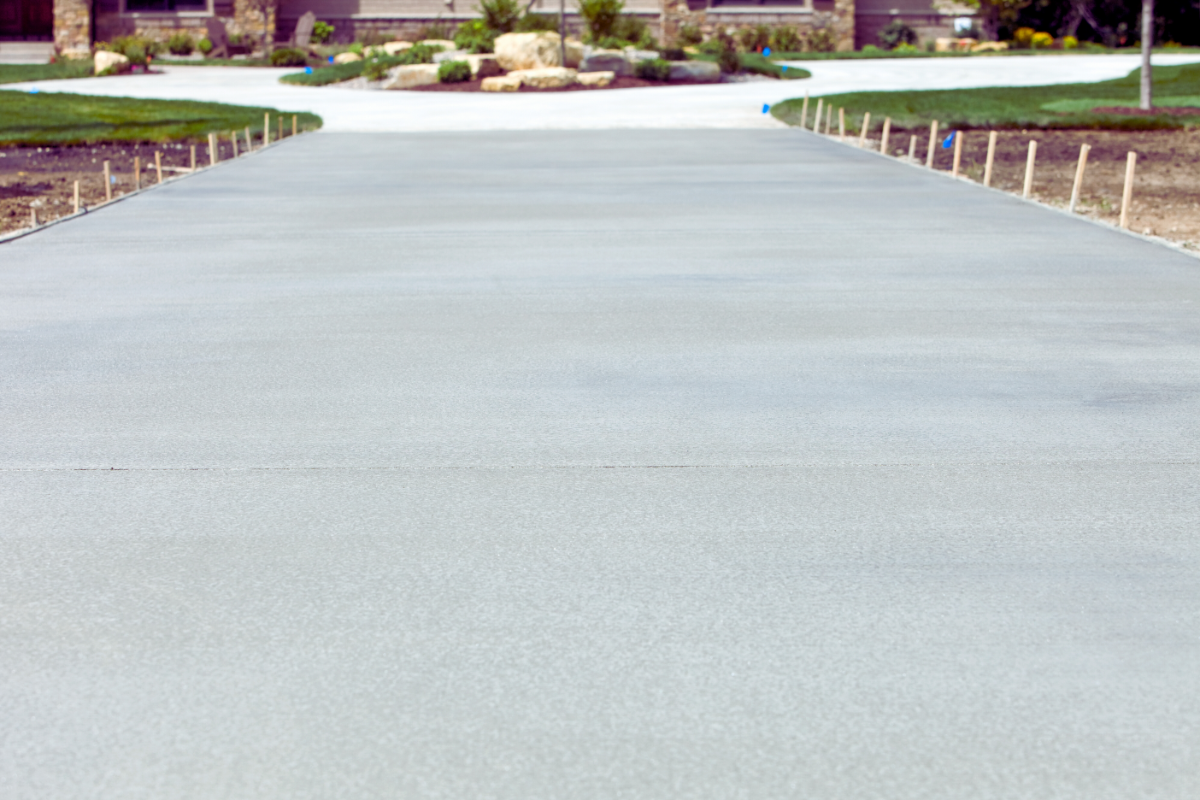
Concrete is ordered to arrive when the formwork and reo are fully ready. We spread, screed, and bull-float the surface to a flat plane, then finish to a broom or trowel texture depending on the intended use. A broom finish is standard for shed floors because it provides grip without being too coarse.
7. Curing and Sealing
Curing starts immediately after finishing. In Rockingham's hot summers, an uncovered slab can lose surface moisture within minutes, which causes surface cracking and a weakened top layer. We either apply a spray-on curing compound or cover the slab with wet hessian and plastic sheeting for a minimum of seven days.
A penetrating sealer applied after the 28-day cure adds an important extra layer of protection, particularly on coastal-exposed slabs in Golden Bay and Port Kennedy where salt air is constant.
Getting the Thickness Right
Thickness is where underspecified shed slabs most commonly fail. Here is a straightforward guide for Rockingham conditions.
- 100 mm: Suitable for a small garden shed on stable sandy ground with good compaction and no heavy loads.
- 125 mm: Recommended for larger sheds, reactive clay sites in Baldivis, or where occasional vehicle access is planned.
- 150 mm or more: Required for heavy machinery, full vehicle workshops, or any site with poor bearing capacity. Edge beams on reactive clay sites should be a minimum of 300 mm deep.
If a contractor quotes a 100 mm slab without first checking your soil type, that is a red flag worth questioning.
Our Work Across Rockingham
Rockingham Concreting Co pours shed slabs across the full City of Rockingham area, from Baldivis and Warnbro through to Safety Bay and the coast. You can see examples of our concrete work in East Rockingham, and our team covers the wider region including all growth estates to the south.
Our local reputation and Google reviews reflect the standard we hold ourselves to on every job, large or small. We back our work with quality standard concrete services that are specced properly from the first site visit.
Frequently Asked Questions
How thick does a concrete shed slab need to be in Rockingham?
The standard domestic shed slab is 100 mm, but that is only appropriate on stable, well-compacted sandy ground carrying light loads. On reactive clay soils in Baldivis or where you plan to park a vehicle or run heavy machinery, 125 mm to 150 mm is more appropriate, with a thickened edge beam of at least 300 mm deep on reactive sites. Always let a contractor assess your actual soil before settling on a spec.
Do I need a building permit for a concrete shed slab in the City of Rockingham?
Whether you need a permit depends on the size and use of the shed you are building on it. Ancillary structures above certain floor area thresholds require a building permit, and development approval may also be triggered in specific estates or Bushfire Attack Level zones in parts of Baldivis and Golden Bay. The slab footprint is tied to the approved shed dimensions, so confirm with the City of Rockingham on 9528 0333 or at customer@rockingham.wa.gov.au before you pour.
What concrete mix is best for a shed slab near the coast in Rockingham?
A minimum 25 MPa mix with a low water-to-cement ratio is the standard starting point for coastal exposure in suburbs like Secret Harbour, Port Kennedy, and Golden Bay. A lower water-to-cement ratio reduces the porosity of the finished slab, which is the key barrier against salt ingress reaching your reinforcement steel. Apply a quality penetrating sealer after the 28-day cure for ongoing protection in salt-air environments.
How long does a concrete shed slab need to cure before you can build on it?
Concrete reaches most of its structural strength at 28 days, but in practice light foot traffic and shed framing can typically begin after seven days on a properly cured slab. In Rockingham's summer heat, active curing for the first seven days is critical: keep the surface damp with wet hessian or use a spray-on curing compound to prevent surface cracking from rapid moisture loss. Do not rush this stage; it directly affects the long-term durability of the slab.
Ready to Get Your Shed Slab Done Right?
Rockingham Concreting Co is ready to assess your site, spec the slab correctly for your soil and shed size, and pour it to a standard that lasts. Call us on 08 7948 9489 or get a free quote and we will get back to you promptly. Quality concrete, delivered with a smile.
You Might Also Like
Rockingham Concreting Co Blog